Showing posts with label project complete. Show all posts

Tuesday, April 2, 2013

A couple more projects finished...

Hey everyone, hope you all enjoyed your Easter weekend! I did for sure, had a great time with a friend on Saturday evening and spent all Easter day with Liam and my "Colorado Family" up in the mountains.

Its been taking me so long to finish projects lately, cause I keep adding more stuff to my never ending to do list and I start a new project before the last one five are complete...have to work on that!

I gave you all an idea that I was redecorating an ottoman in my post about redoing my table and chairs. I was so stoked when I found this cute chevron fabric and knew it was for my current ottoman. This piece was a thrift store find a few years ago, snagged it for $5 and recovered it with that bright retro fabric. Its seen better days; since Liam uses it for a desk, dining table, and a diving board.

 I'm in love with my curtains that I purchased from Ikea a while back! I took down the awful vertical blinds that are in every apartment in America (shh...don't tell my landlord).


The whole project took me about an hour to do, not including drying time for primer and paint. I just ripped the old fabric off, lightly sanded the legs with 100 grit sand paper, primer, paint, and new fabric.


2 coats of both primer and paint... 


I can't express how much I love it! It really brightens up the space. Next is the chair behind that ottoman, going to get a dark grey fabric, but finishing up everything else I have started. 

I also started and finished something that I wanted should have started 4 years ago and that was Liam's growth chart. I kept coming up on images on Pinterest of giant looking rulers and went with that look, something that will grow along with him as opposed to something cutesy and babyish. 

my new "Lips"print from The AESTATE, sitting in its temporary home...

I started with a bare piece of birch, measuring 6 foot tall, 4 inches wide, and 1 inch thick. Lightly sanded it. Before staining I wrote a special message to him, something that will make cry every time I look at it, HA! 


I applied 2 coats of stain, after its said and done I wish I would have done 3. It has this blueish grey tint to it, that really flows with the rest of the apartment. 


To finish, I painted numbers on with some black acrylic paint and a stencil. It looks really cute and Liam loves getting measured! I'm hoping that he will one day reuse the growth chart for something creative, fingers crossed!

Do you have any projects that you've finished recently?


Tuesday, March 19, 2013

Project complete and finding treasure...

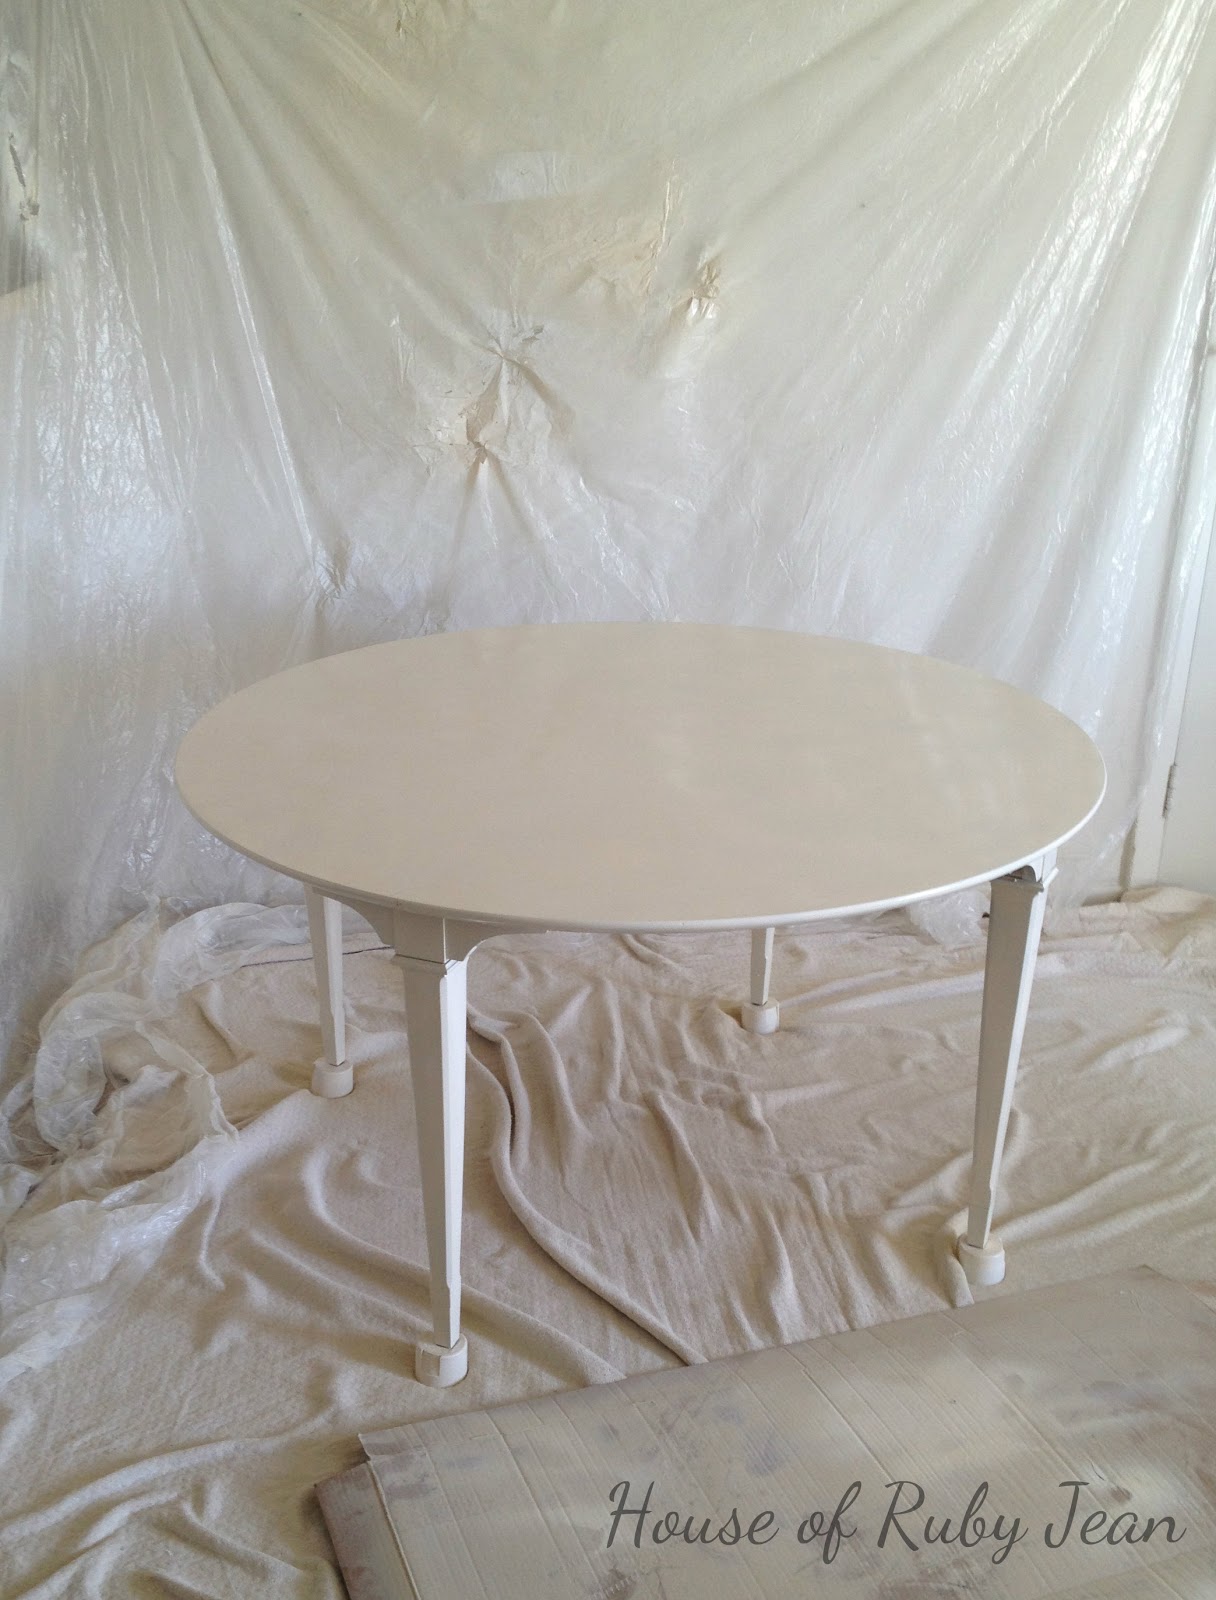
It's finally complete and right on schedule I might add! Its exactly as I pictured it in my head that one day back in January, at the Goodwill store. I shared with you a couple weeks ago that I was starting this project and have slowly worked on it, weather causing delays. I couldn't be happier with the results.


It all started with this ugly thing right here.


I fell in love with it instantly and pictured it painted white and reupholstered with a light fabric. I knew I wanted yellow and grey. The grey chevron is for an ottoman that I'm redoing too and the yellow is for some pillows.


The process is fairly easy, just takes some patience and a little hard work to pull it off. 


I love this tag that I found at the bottom of every chair, it dates back to 1972; but I'm certain this set is much older. Under the awful flowered fabric was this even nastier green stuff. 


After removing the cushion I sanded the entire surface with 220 grit sandpaper and wiped it clean. Next, a coat of primer.
And I added some 1 1/2 inch foam for some cushion for the tush. Just trace an outline from the seat.
Next is the fun part...staple gun. I regretfully don't have pictures of this process, but it fairly simple. Just cut a piece of fabric that is bigger than your seat, staple in center once and while pulling taught staple around. This was fun, but the next day my palm was so sore! After primer has dried (I gave mine a full 24 hours) apply a coat of paint. I used Rust-oleum in Heirloom White with a Satin finish. The chairs were good with one coat of paint, but the table needed two. I finished the table with Rust-oleum sealer in Clear Matte. You'll want to raise your piece off the floor so you get good coverage on the legs, I used the lids from the paint cans.


Like I said, I couldn't be happier with the outcome. I love getting my hands dirty and fixing something up myself. The whole piece really lightens up the space!

The whole project came in at $123...
$50 for table and four chairs at Goodwill
$13 for fabric at Hobby Lobby (with a 40% off coupon)
$40 paint, primer, sandpaper at Home Depot
$20 for foam at JoAnns (with 50% off coupon)

Yesterday Liam and I took our regular trip to Goodwill with hopes of finding something for the home, we weren't having much luck (he will tell you otherwise, cause he came home with a huge toy jet that makes tons of noise); then out of the corner of my eye on the other side of the store I found this...


I know what your thinking...WTF, right?!?! But upon further inspection I found something that may be my new favorite thing...


It only took a few snips from the trusty wire cutters! I'm thinking of hanging it above the new table and chairs. 

Have you found any treasure lately?